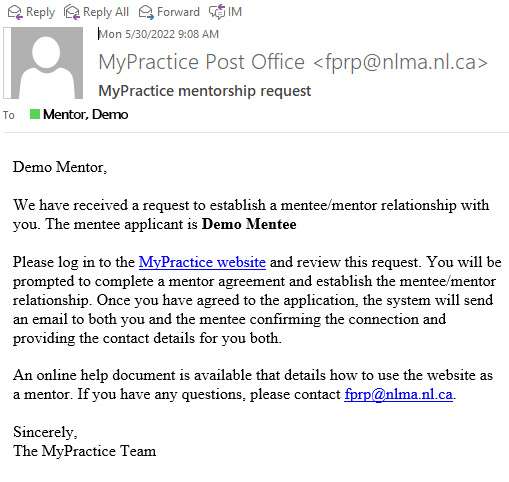
When a mentee makes a request you will receive an email with the mentee’s name and instructions on how to approve or deny this connection request. Why you receive a request you will be able to click a link in your email that will direct you towards the MyPractice website.
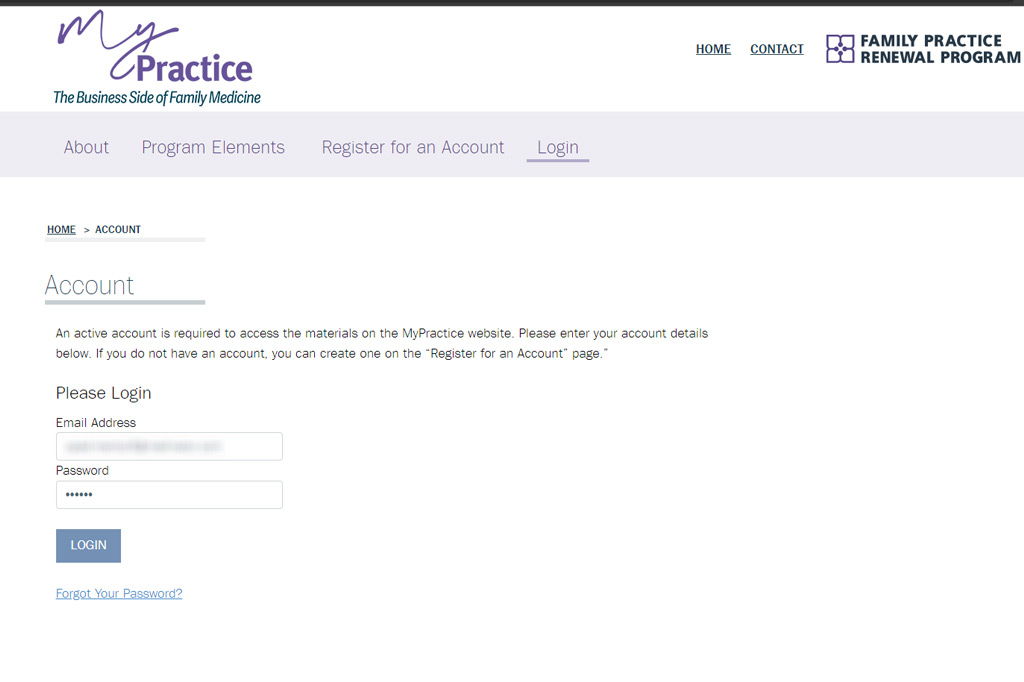
When you arrive at the MyPractice website please log in with your account credentials. If you cannot remember your password there is a Forgot Your Password? link that will enable you to reset your password.
After you have successfully logged into the MyPractice site you should now see a Mentor menu item added to the main menu bar on the website. Please click this menu item to access your Mentor dashboard.
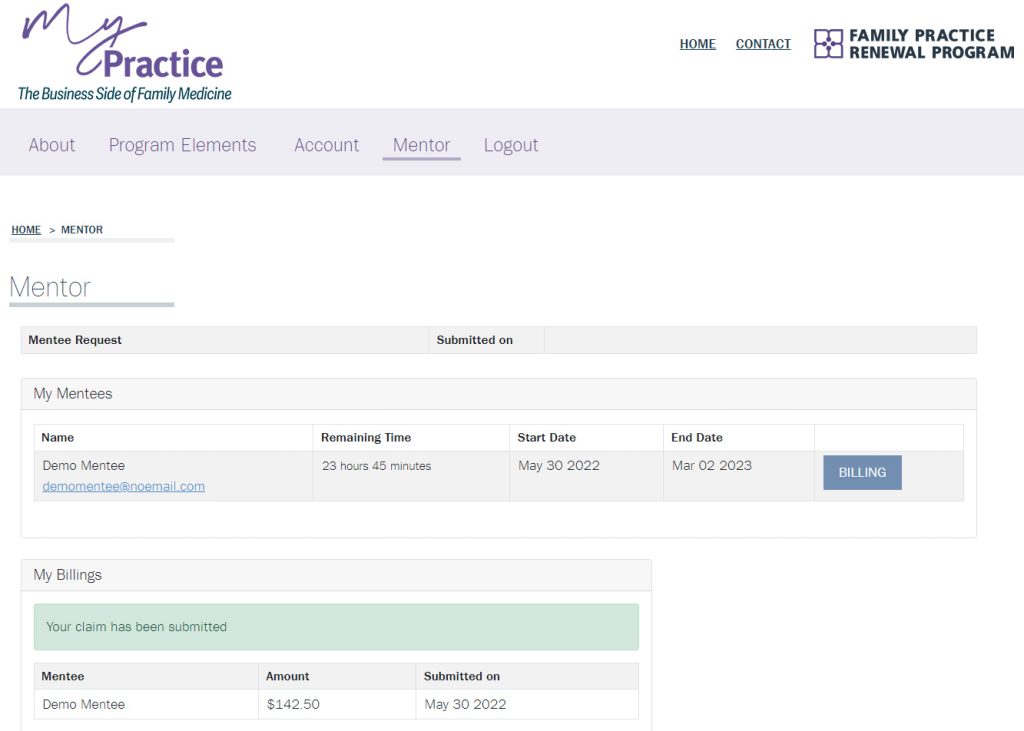
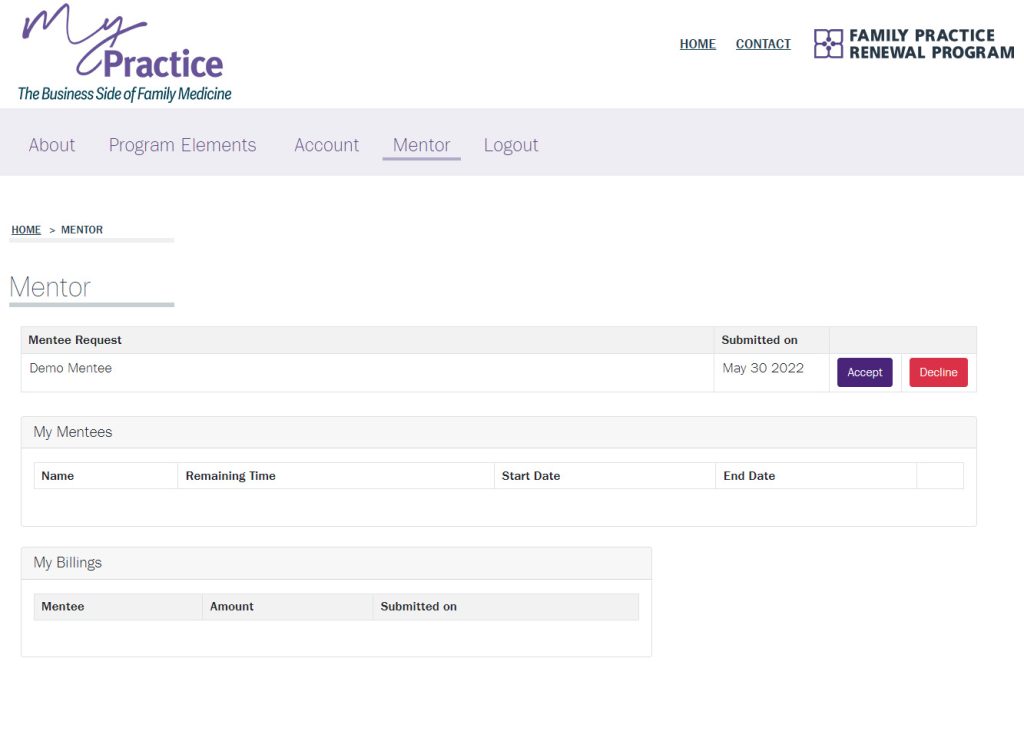
Your Mentor Dashboard will show pending mentee requests, accepted mentees and all of your submitted billings related to your mentorship period.
To accept a new mentee from the mentee request list please click the Accept button.
If you are unable to accept a new mentee at this time please click the Decline button to notify the requestor that you are unable to accept their request.
Each time you agree to accept an new mentee you must review and agree to the Mentorship Agreement. Clicking “I Agree” will finalize the mentor/mentee agreement process and notify the mentee of your acceptance.

Once approved, your new mentee will appear in the My Mentees section. This section will show the remaining time you have available as well and the start and end date of this mentorship period. You may submit a honoraria claim by clicking the Billing button to the right.
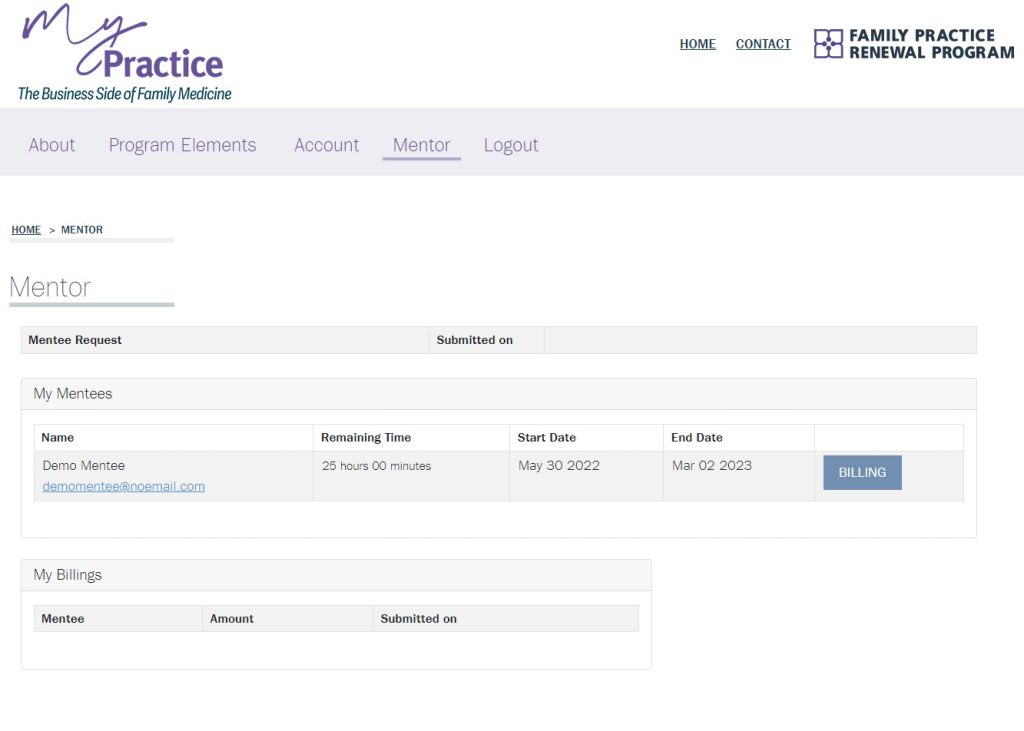
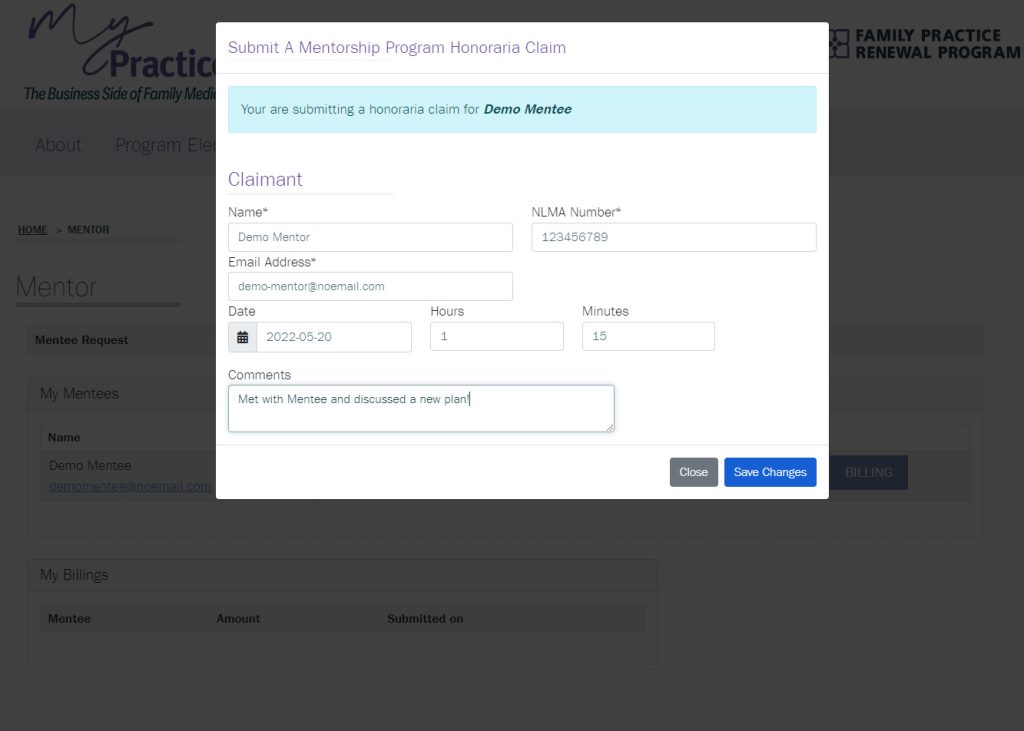
To submit a billing for a mentee activity please click the Billing button that appears to the right of the mentee’s name on the My Mentee section of your dashboard. This will open a popup for you to complete. Please ensure all fields are complete. Click Save Changes to submit your claim.
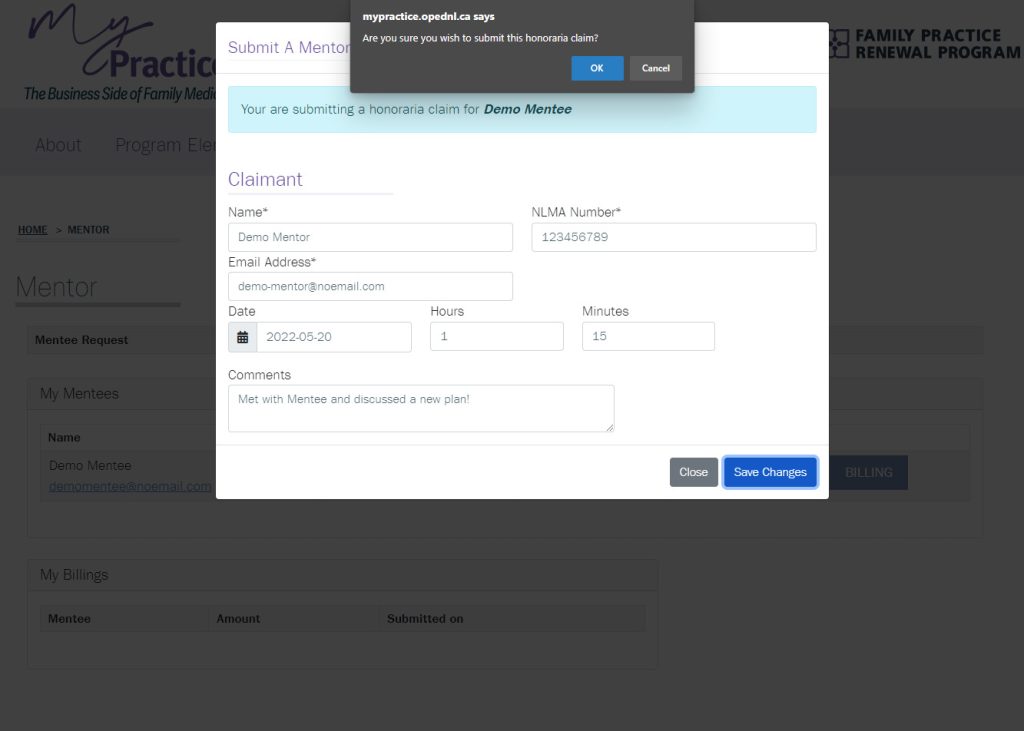
A final step before submission is to confirm the information you have entered is accurate. Click OK to complete the submission process or Cancel to make any changes you wish.
Your honoraria submission has been made to the NLMA.
For reference and personal records a history of your submission is now displayed for you in the My Billings section.